Here ya go, guys! As promised... here's my DIY 4x12 build thread. I built two of these cabs & they look/sound awesome. I like them so much, I sold my Marshall 4x12 cabs... :lol:
There are a few different cabs, that I based the design off of... nothing ground-breaking, so I can't really take credit for the design... but I built these because I wanted a combination of certain features that weren't available on branded cabs. I'll explain more as I go...
I only ask that nobody runs off with the drawings/pics & starts mass-producing these cabs without including me... :lol:
Ok, I'll keep adding/organizing info in this post (as I can dig up the info). There are several things that I didn't get documented with pics... so, feel free to ask questions & I'll do my best to explain what I did.
To get started with materials, you need a sheet of voidless Baltic birch (usually sold in 5ft x 5ft sheets), some 3/4" square hardwood sticks (I used oak that I had on-hand & ripped down to size), a bottle of quality wood glue (I used PL Premium), & a small box of 1" general-purpose screws.
If you ask the clerk nicely, you can have the sheet of Baltic birch ripped into four 30" squares (this is how I was able to fit it in my car... and the pieces are much easier to handle, when cutting out parts).
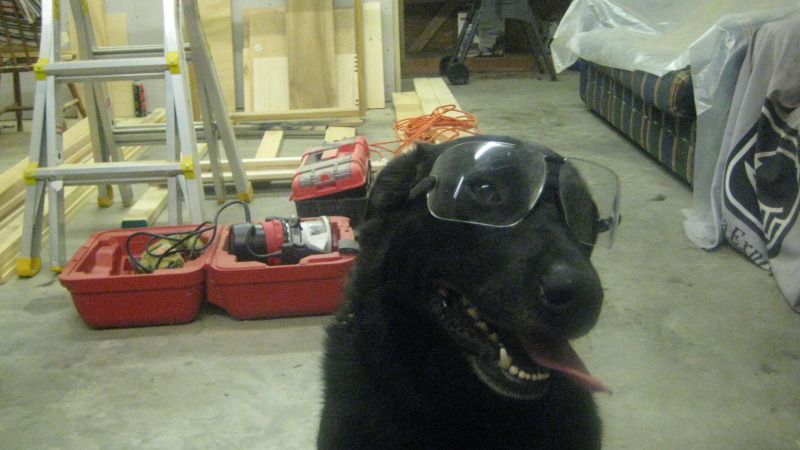
Safety first!
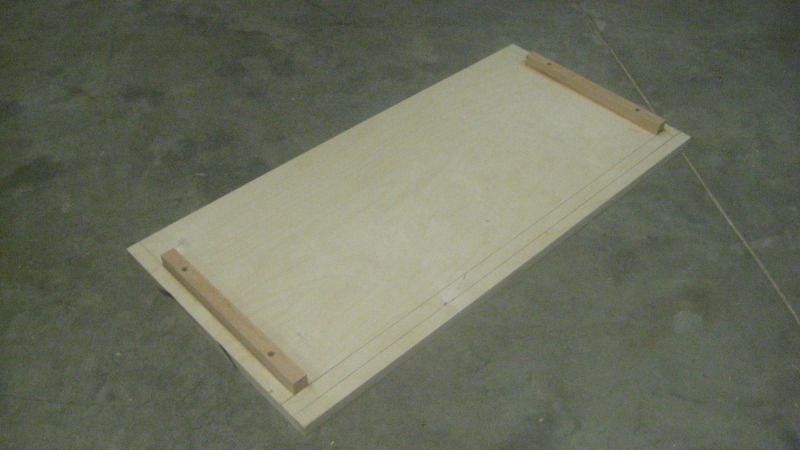
Make 2 of these for the top & bottom...
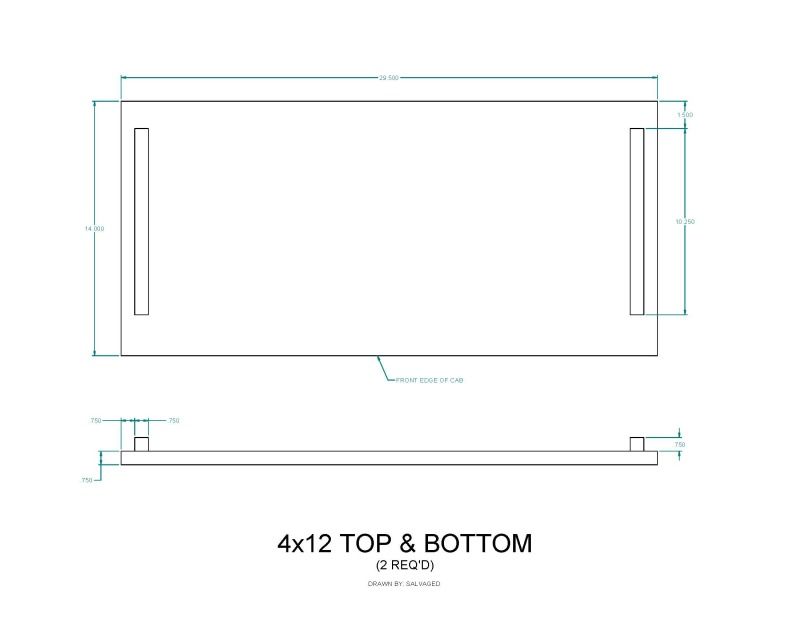
Here's the drawing for the top & bottom:
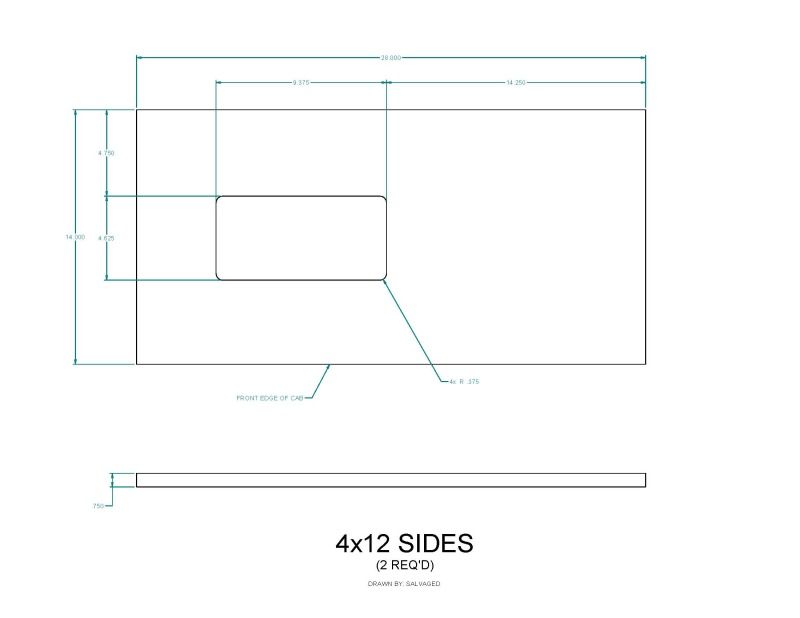
Here's the drawing for the sides (measure YOUR handles, BEFORE cutting the handle holes):
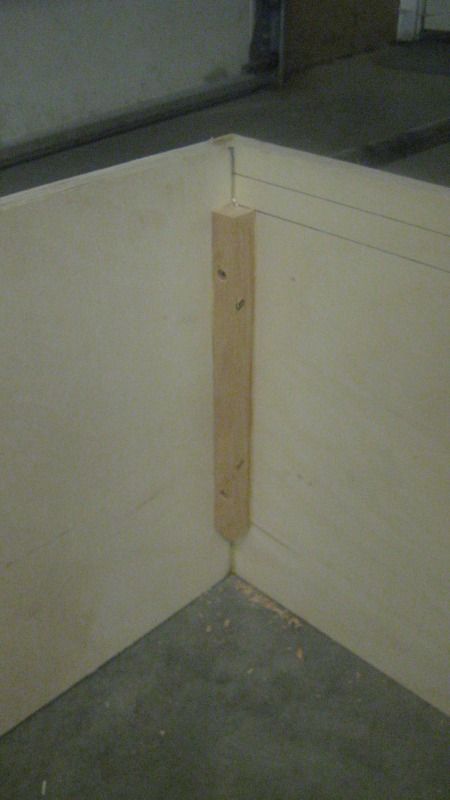
Join the corners with glue & screws...
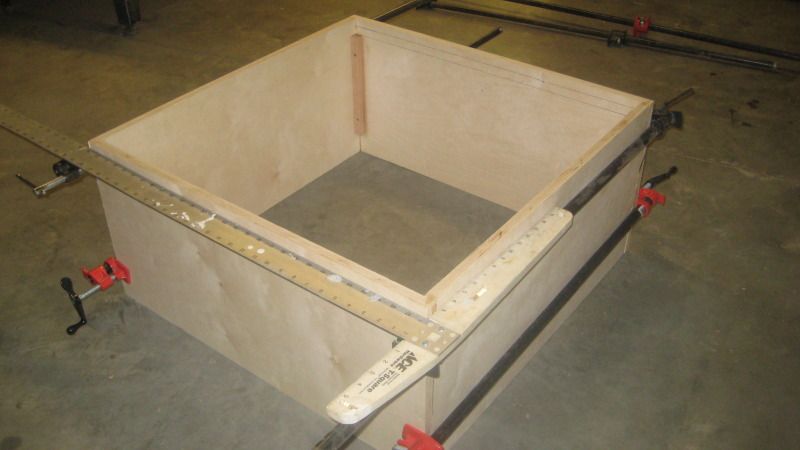
All sides clamped... check for squareness, or else the baffle won't fit... Pipe clamps work great... and they're CHEAP to make!
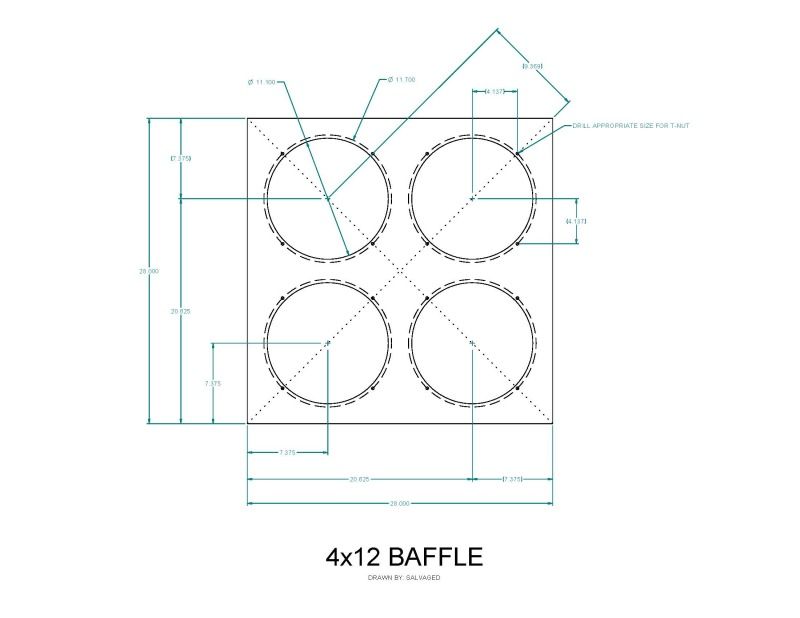
Mark-up the baffle...
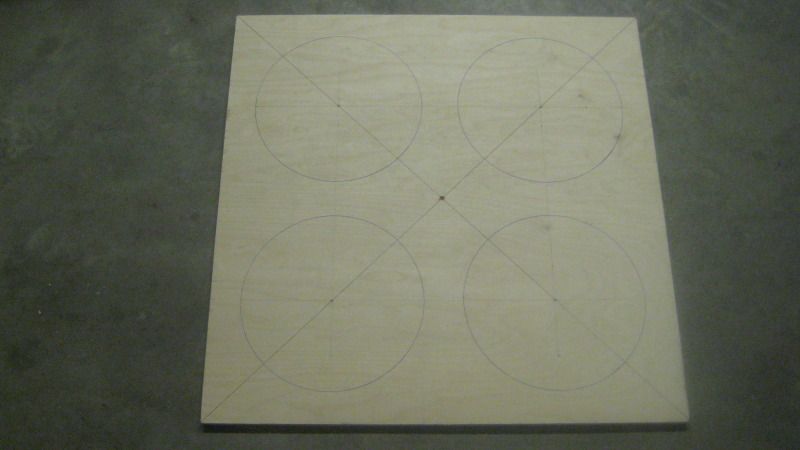
Here's the baffle drawing (I included some reference dimensions in (), so you can verify your mark-up before cutting):
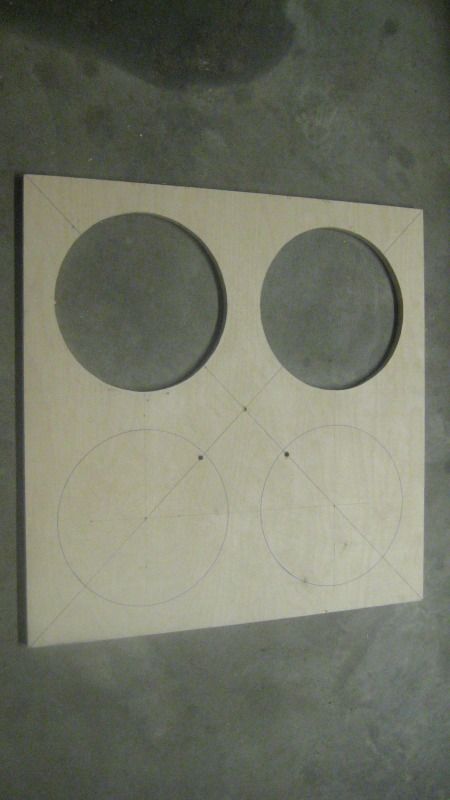
Carefully cut the speaker holes... if they're cut too big, you'll probably have to make another one...
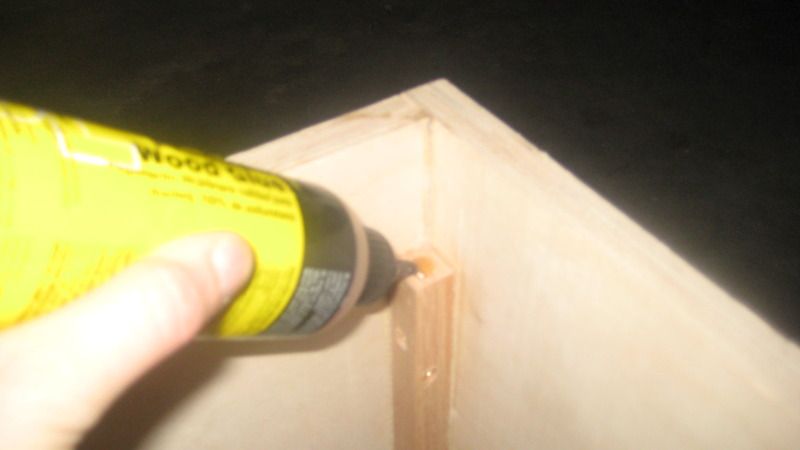
Glue the top of the corner braces, for the baffle to sit on...
Set the baffle in place...
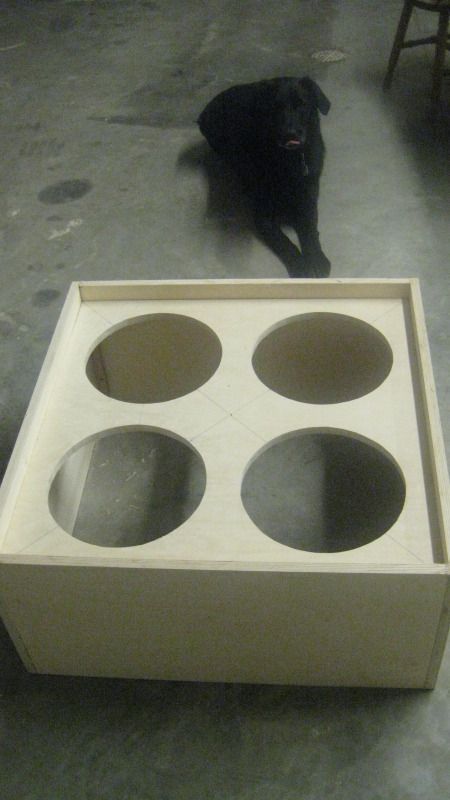
I weighed the baffle down, so the expanding glue wouldn't lift the baffle out of squareness...
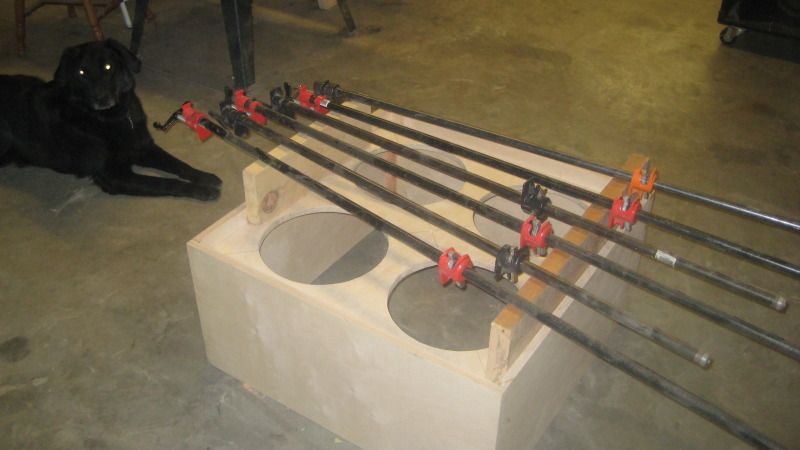
Doubled-up the front edge... you'll need to look at my assembly drawings (coming soon), to see more detail...
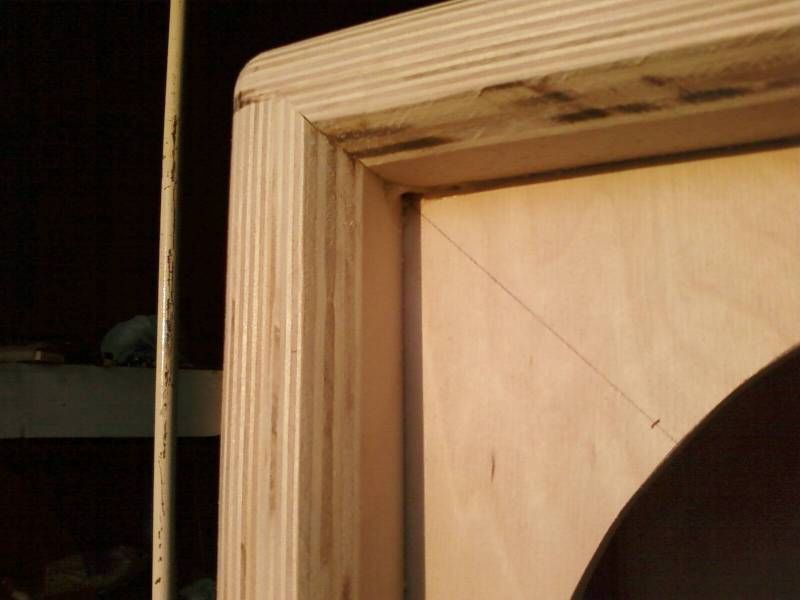
All bracing & center post installed...
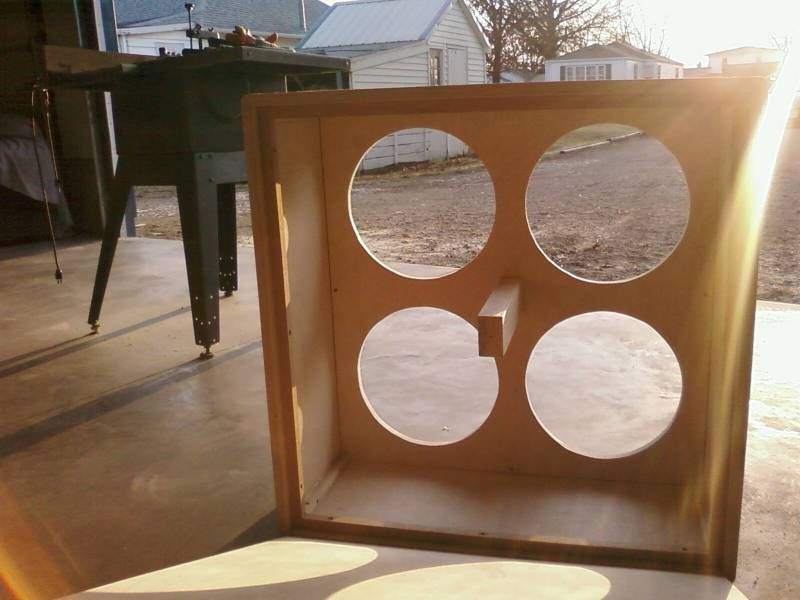
Rounded edges... kinda hard to see in this pic, but I pinned the corners with dowels & glue, for extra strength. I originally wanted to dovetail the corners, but with a 14" wide piece, I would need to buy the large dovetail jig for $400... instead of $120 for the "up-to-12-inches" jig.
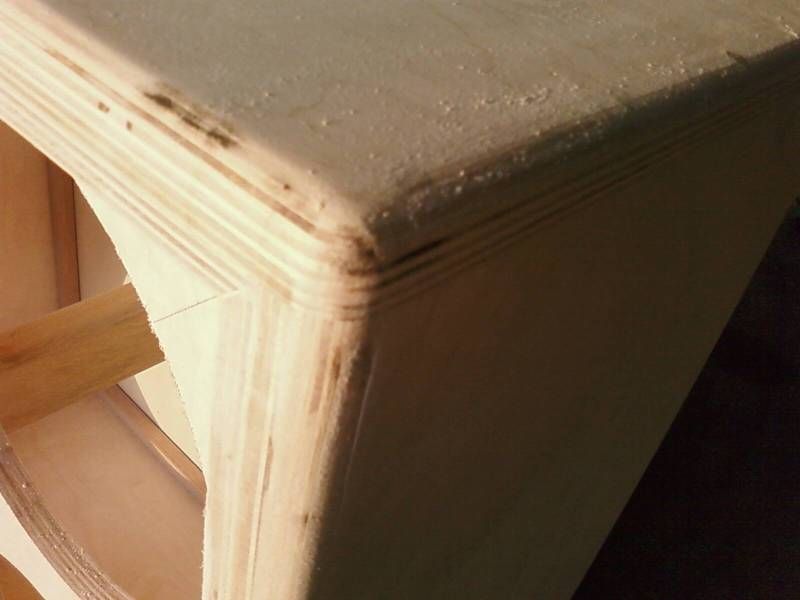
Installed the back... The back is completely sealed (glued, screwed, & filled) & is not removable (speakers are front mounted).
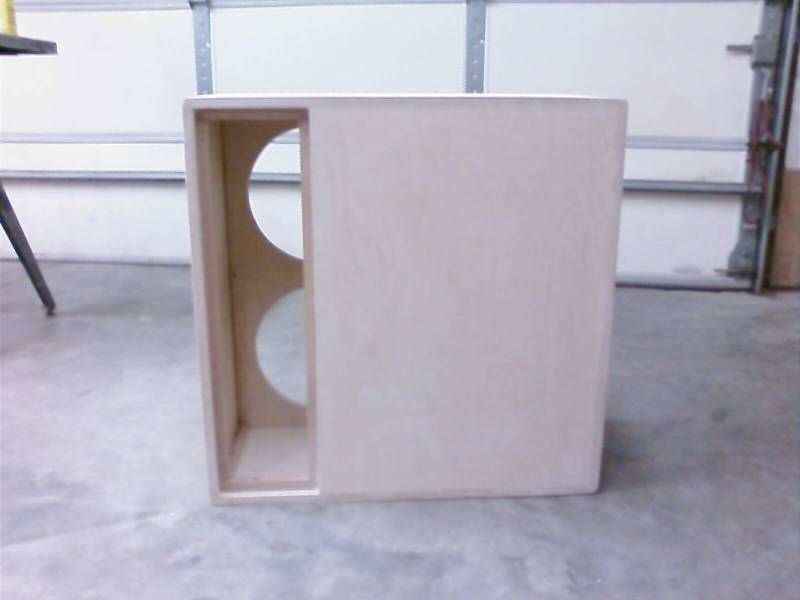
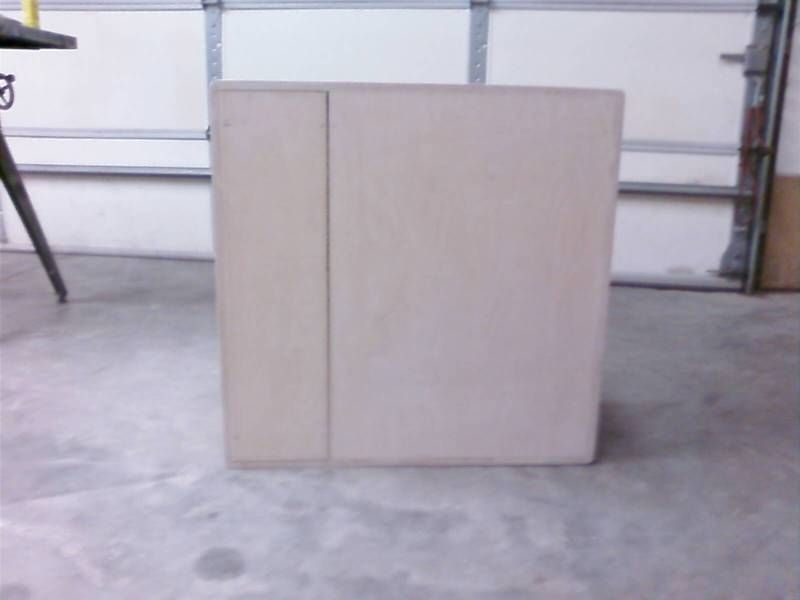
Made a removable panel...
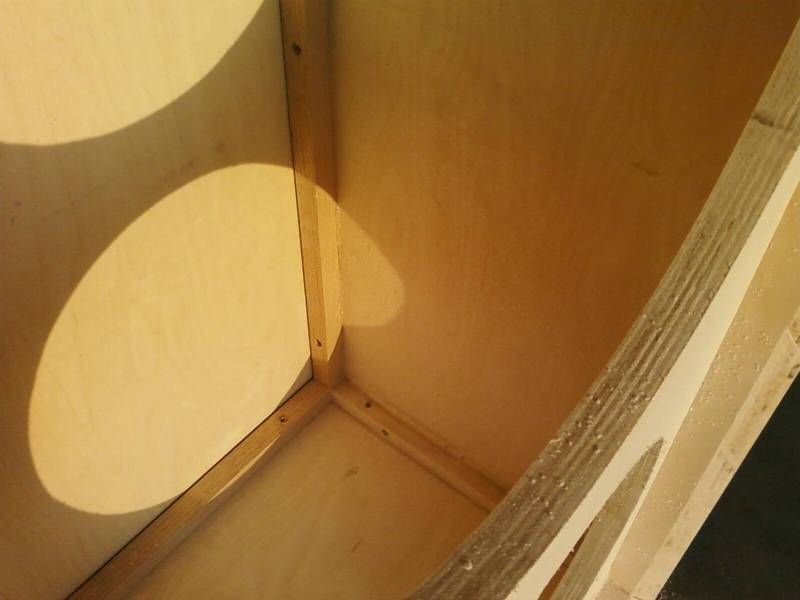
Another shot, showing the internal bracing...
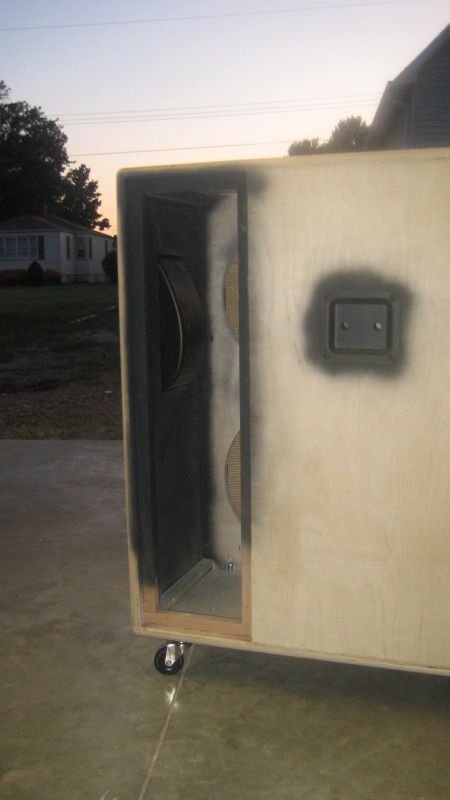
Looking back, I would recommend painting the inside of the parts BEFORE assembly... I got a bit of a buzz trying to paint the inside of the cab... whew!! Just mask off the glue areas, and you should be good to go... then assemble the cab.
Ok, so I put the camera down & got to work... unfortunately, a lot of detail pics didn't get taken... But I'll try to fill in the blanks with detailed drawings & sketches...
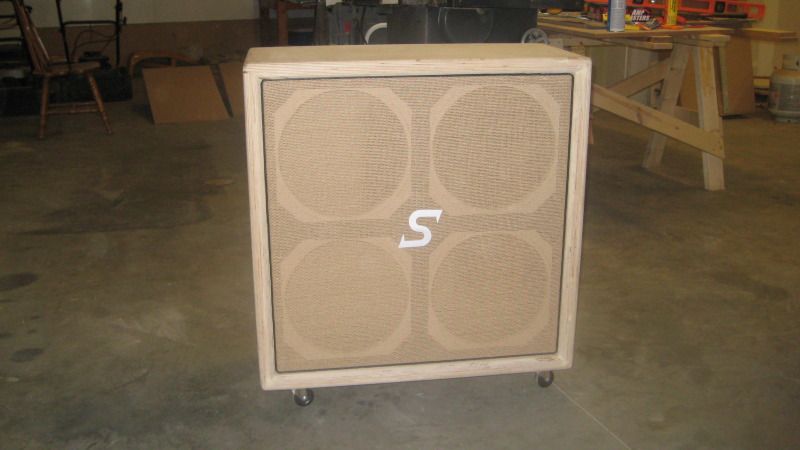
Kind of a cool shot...
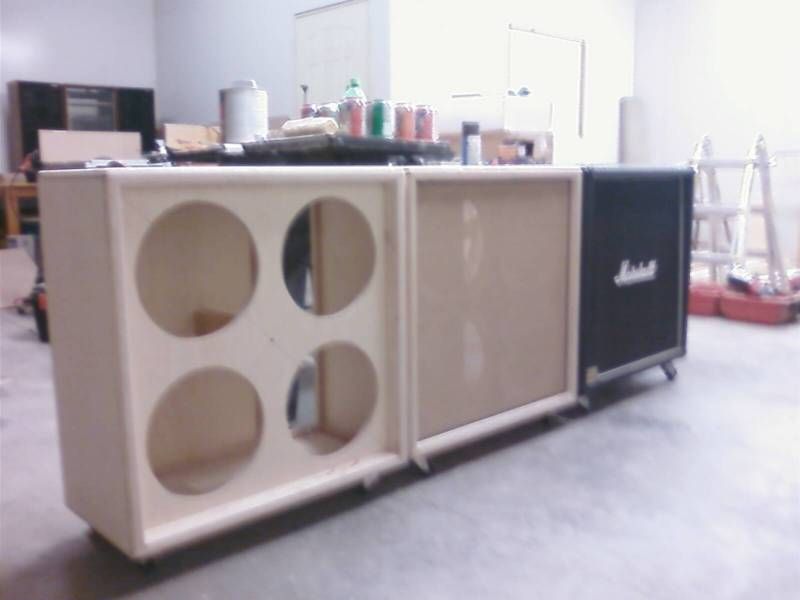
The SALVAGED stack... ta-daaa!!!
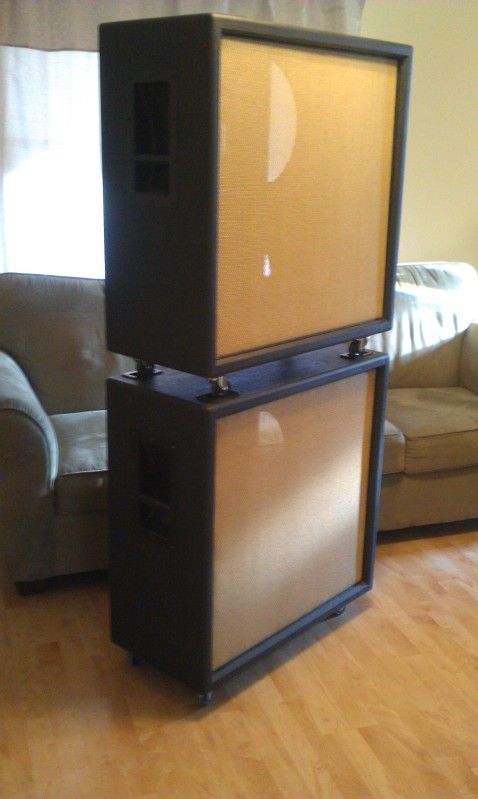
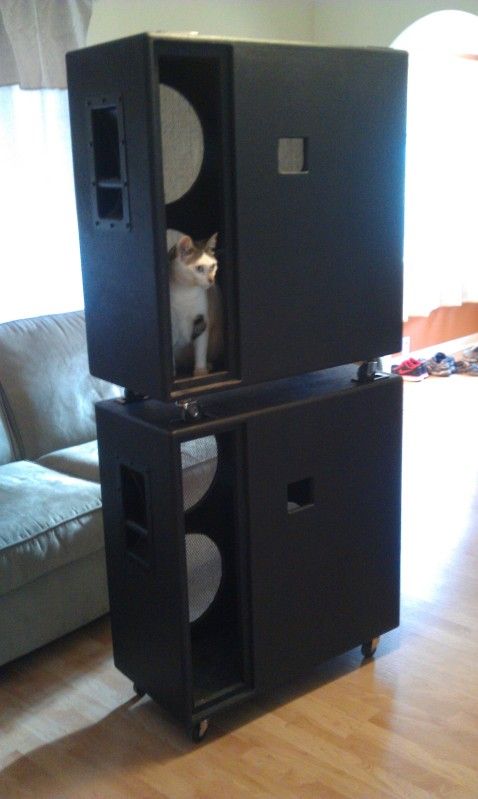
I originally tried loading the cabs with cats... but they didn't sound very good... kinda scratchy sounding, with no audible guitar signal... but there MUST'VE been SOME signal at a high frequency, because my dog was howling. Anyways... I ended up with WGS speakers... and wow, what a difference!! :lol:
More details coming as I can dig them up!!
Casting Credits:
ShopDawg: Dave
SpeakerKitty: Yuki
There are a few different cabs, that I based the design off of... nothing ground-breaking, so I can't really take credit for the design... but I built these because I wanted a combination of certain features that weren't available on branded cabs. I'll explain more as I go...
I only ask that nobody runs off with the drawings/pics & starts mass-producing these cabs without including me... :lol:
Ok, I'll keep adding/organizing info in this post (as I can dig up the info). There are several things that I didn't get documented with pics... so, feel free to ask questions & I'll do my best to explain what I did.
To get started with materials, you need a sheet of voidless Baltic birch (usually sold in 5ft x 5ft sheets), some 3/4" square hardwood sticks (I used oak that I had on-hand & ripped down to size), a bottle of quality wood glue (I used PL Premium), & a small box of 1" general-purpose screws.
If you ask the clerk nicely, you can have the sheet of Baltic birch ripped into four 30" squares (this is how I was able to fit it in my car... and the pieces are much easier to handle, when cutting out parts).
Safety first!

Make 2 of these for the top & bottom...

Here's the drawing for the top & bottom:

Here's the drawing for the sides (measure YOUR handles, BEFORE cutting the handle holes):

Join the corners with glue & screws...

All sides clamped... check for squareness, or else the baffle won't fit... Pipe clamps work great... and they're CHEAP to make!

Mark-up the baffle...

Here's the baffle drawing (I included some reference dimensions in (), so you can verify your mark-up before cutting):

Carefully cut the speaker holes... if they're cut too big, you'll probably have to make another one...

Glue the top of the corner braces, for the baffle to sit on...

Set the baffle in place...

I weighed the baffle down, so the expanding glue wouldn't lift the baffle out of squareness...

Doubled-up the front edge... you'll need to look at my assembly drawings (coming soon), to see more detail...

All bracing & center post installed...

Rounded edges... kinda hard to see in this pic, but I pinned the corners with dowels & glue, for extra strength. I originally wanted to dovetail the corners, but with a 14" wide piece, I would need to buy the large dovetail jig for $400... instead of $120 for the "up-to-12-inches" jig.

Installed the back... The back is completely sealed (glued, screwed, & filled) & is not removable (speakers are front mounted).

Made a removable panel...

Another shot, showing the internal bracing...

Looking back, I would recommend painting the inside of the parts BEFORE assembly... I got a bit of a buzz trying to paint the inside of the cab... whew!! Just mask off the glue areas, and you should be good to go... then assemble the cab.

Ok, so I put the camera down & got to work... unfortunately, a lot of detail pics didn't get taken... But I'll try to fill in the blanks with detailed drawings & sketches...

Kind of a cool shot...

The SALVAGED stack... ta-daaa!!!

I originally tried loading the cabs with cats... but they didn't sound very good... kinda scratchy sounding, with no audible guitar signal... but there MUST'VE been SOME signal at a high frequency, because my dog was howling. Anyways... I ended up with WGS speakers... and wow, what a difference!! :lol:

More details coming as I can dig them up!!
Casting Credits:
ShopDawg: Dave
SpeakerKitty: Yuki

